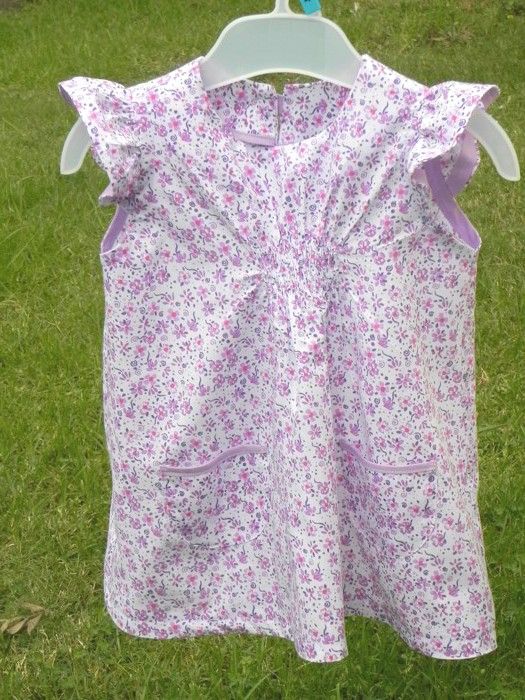
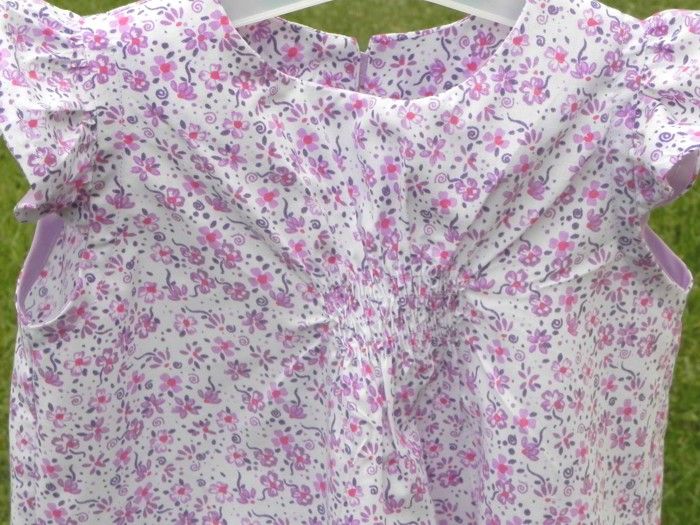
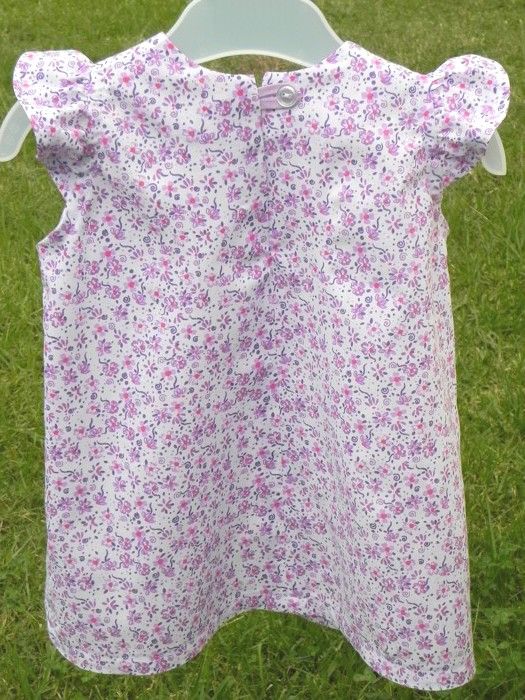
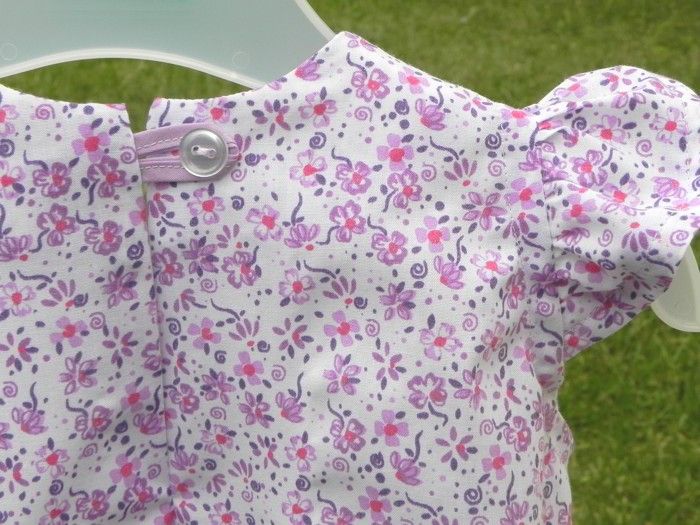
I did make some changes to the pattern instructions, but they are all on the inside.
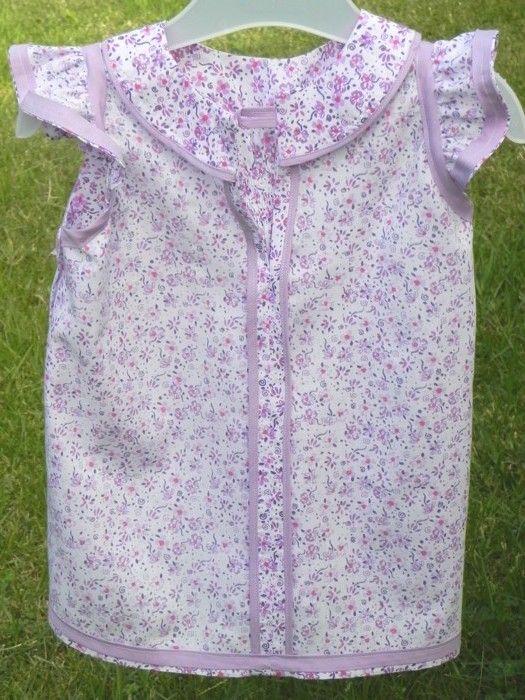
The main changes I made were to the seam allowances, so that I could use bias binding and french seams. The seam allowances I used were as follows:
- 1/2 inch on side seams, shoulder and center back
- 3/8 or 1cm at neckline
- 1/4 inch on armholes and sleeves
- No seam allowance on outer edge of facing.
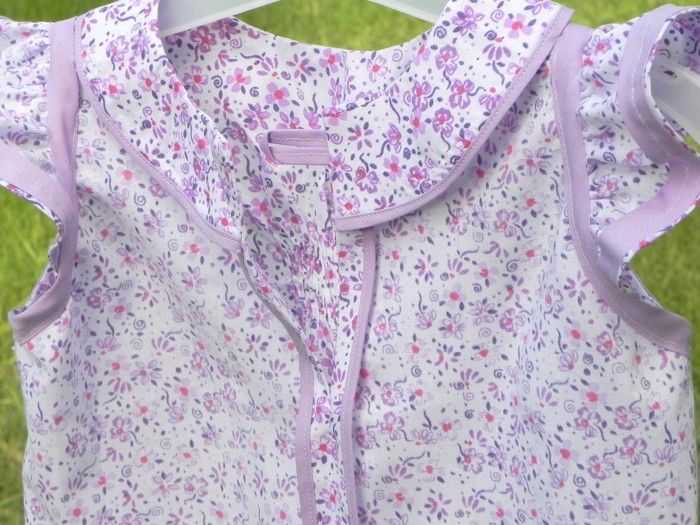
Construction went as follows:
- Bias bound outer edge of facing, two center back edges (as seen here).
- Applied bias binding to the outsides of the sleeves (like seen here).
- French seam shoulders (1/4" first pass, trim and 1/4" second pass)
- Sewed neckline and finished attaching the facing. Made the button loop from the bias binding also.
- Center back seam
- Basted sleeves on, then used bias binding as a facing to attatch the sleeve and finish the whole armhole seam.
- Sewed pockets and shirring.
- French seam side seams
- Used more bias binding on the hem :)
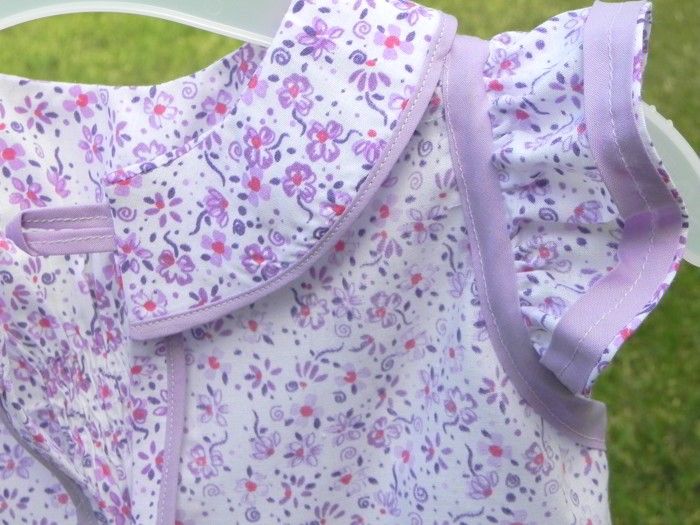
Thats a lot of bias tape! But I think it was worth it. Pretty, yes? You don't have to go as nuts with bias binding as I did, but I think it is a good way to finish the armhole.
I am happy with the dress. Cant wait to see it on a model :)

Awesome! It looks very pretty! I have a flickr group if you would like to add it!! I think the lInk is in tge post on the dress:) suz
ReplyDeleteIt is just gorgeous! You finishing makes it perfect - so neat and tidy! Love the lilac fabrics.
ReplyDeleteGorgeous! It is very nice and your finishing looks very professional. Once again, great work!
ReplyDeleteIt's very cute!
ReplyDelete